Smart LED downlights are transforming modern homes. They offer not only energy efficiency but also the convenience of automation. Before diving into their installation, it’s crucial to understand how to wire a smart LED downlight for home automation. Wiring these smart lights correctly ensures they function seamlessly with various smart home systems.
Installing these lights isn’t as straightforward as it seems. Each home’s setup can vary greatly, and a small error when wiring could lead to significant issues. You might face connectivity problems or even damage your downlights. Therefore, having a clear plan and understanding the electrical setup in your home is essential.
For those less experienced, seeking guidance or professional help can be beneficial. Relying on expertise will enhance your confidence in installation. Smart lighting can enhance your living space, but it requires careful preparation and knowledge to maximize its potential.
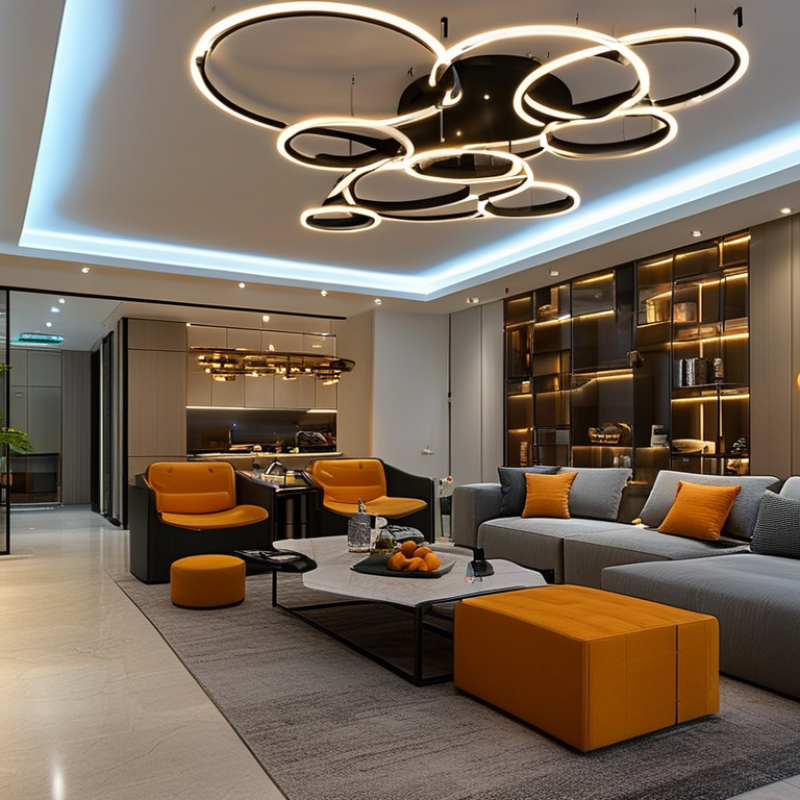
Smart LED downlights are becoming increasingly popular in home automation. These lights offer convenience and energy efficiency. They can be controlled remotely through smartphones or voice assistants. This technology allows homeowners to adjust their lighting settings effortlessly. You can set schedules, change colors, and even dim lights to create the perfect atmosphere.
One of the main benefits of smart LED downlights is their ability to save energy. They consume less power than traditional bulbs while providing the same brightness. This efficiency translates into lower electricity bills over time. Moreover, they last longer than conventional bulbs, reducing waste. However, installing these devices may require a bit of technical know-how. Some users might find the setup process challenging, especially if they aren’t tech-savvy.
Another advantage is the enhanced security they provide. Smart lights can be programmed to simulate your presence at home. This can deter potential intruders while you’re away. Yet, relying solely on automation may lead to complacency. It's essential to remain adaptable and not overlook other security measures. Embracing these innovations requires balance and continuous learning.
Installing smart LED downlights can enhance your home automation experience. To begin this project, you need to gather essential tools and materials.
First, ensure you have a good quality drill for creating holes in the ceiling. A stud finder is crucial to locate wiring and beams, preventing accidental damage. Wire strippers are needed to prepare your electrical connections.
You'll also require LED downlights that are compatible with your smart home system. Make sure to have electrical tape and wire nuts handy for secure connections. A voltage tester will help to ensure safety when working with electric wires. As you prepare, confirm that your circuit is turned off. Safety should be a priority.
Be prepared for some challenges during the process. Precision is important, but cutting holes too large can lead to extra work. Your first installation might not be perfect. Don’t rush; take time to double-check alignments and connections. Evaluating where to place your fixtures can be tricky. Mistakes can happen, but they also provide valuable lessons for future projects.
Installing smart LED downlights can transform your home into a modern, energy-efficient space. Begin by gathering your tools: a screwdriver, wire stripper, and a voltage tester. Before you start, make sure to turn off the power to the circuit you’ll be working on. This is crucial for your safety. After that, remove the old fixture if you have one in place.
Next, connect the new smart LED downlight. Strip the ends of the wires, and make connections using wire nuts. It's often a good idea to double-check your connections before securing anything. Ensure that the wires are tightly connected, as loose wires can cause flickering or lead to a fire hazard. Once everything is in place, turn the power back on to test your installation.
After the lights are functioning, you can connect them to your smart home system. Following the manufacturer's app instructions will help you sync everything for remote control. Take time to play around with the settings; customizing brightness and colors can be surprisingly rewarding. Remember, if something doesn’t work at first, you may need to revisit your connections or check the app. It's normal to face a few bumps along the way.
Connecting smart LED downlights to home automation systems can enhance your living space significantly. Begin by ensuring you have a compatible hub that supports smart lighting systems. This is crucial for seamless integration. Once you have your hub set up, you can start connecting your downlights.
Install each downlight according to the manufacturer’s instructions. Verify that your connections are secure and that they comply with safety standards. Switch on the power and follow the app instructions to add new devices. In some cases, you might need to troubleshoot connectivity issues. These challenges are common, especially if your Wi-Fi signal is weak.
After connecting, explore setting up routines. You can program your lights to adjust based on time or occupancy. This feature adds convenience but requires thoughtful setup. Ensure your routines fit your daily life. Occasionally, you might find that your lights behave unexpectedly. It’s beneficial to revisit your settings for improvements.
Installing smart LED downlights can enhance home automation significantly. However, issues may arise during installation or operation. Understanding common problems can save time and stress.
One prevalent issue is connectivity failure with Wi-Fi networks. According to a report from the Association of Home Automation, about 20% of smart devices face connectivity issues. If your downlights disconnect frequently, check your router's placement. Ensure it’s not too far from your lighting fixtures. Interference from other electronic devices can also be a culprit.
Another common problem is flickering lights. Industry studies show that 15% of users experience this. Flickering can indicate compatibility problems with your existing dimmer switch. Consider replacing your dimmer with one designed for LED lighting. If the flickering persists, adjusting the light's power settings may provide relief.
**Tips:** Always consult your user manual for specific troubleshooting steps. If necessary, updating your device's firmware can resolve many bugs. Engaging with online forums can also provide helpful insights from professionals and fellow users. These insights can be invaluable for understanding the nuances of your smart lighting system.
| Step | Description | Common Issues | Troubleshooting Tips |
|---|---|---|---|
| 1 | Turn off the power at the circuit breaker. | Power is still on. | Double-check circuit breaker status. |
| 2 | Remove the old downlight fixture. | Old fixtures are stuck. | Use a flat-head screwdriver to gently pry it out. |
| 3 | Connect the wiring to the smart downlight. | Wires are mismatched. | Follow color code: black to black, white to white. |
| 4 | Secure the smart downlight into the ceiling. | Fixture is loose or not mounting properly. | Check the mounting brackets and reset if needed. |
| 5 | Turn the power back on and test the light. | Light does not turn on. | Ensure the bulb is properly inserted and the app is configured. |
: You need a drill, stud finder, wire strippers, electrical tape, wire nuts, and a voltage tester.
Always turn off the circuit before starting. Safety should be your top priority during the installation.
You may cut holes too large or misjudge fixture placement. Mistakes can happen; take your time.
Use a compatible hub and follow the manufacturer's instructions for secure connections. Verify everything matches safety standards.
Check your router's placement and ensure it’s within range. Interference from other devices can also affect connectivity.
Flickering may indicate dimmer compatibility issues. Consider replacing your dimmer with one suitable for LED lights.
Use your app to program lights based on time or occupancy. Tailor routines to fit your daily schedule.
Revisit your settings for possible adjustments. Sometimes minor tweaks can lead to significant improvements.
Consult your user manual for troubleshooting steps. Online forums can offer insights from other users and experts.
Connectivity failures and flickering lights are common. Understanding these issues helps save time and reduces stress.
Installing smart LED downlights can significantly enhance your home automation experience. These lighting solutions offer numerous benefits, including energy efficiency, customization, and remote control capabilities. To successfully install smart LED downlights, you'll need specific tools and materials, including a voltage tester, wire connectors, and the downlights themselves. The installation process involves a series of straightforward steps, from turning off the power supply to wiring the fixtures correctly.
A critical question that arises during this process is, "How to wire a smart LED downlight for home automation?" Properly connecting the downlights to your home automation system is crucial for seamless operation. After installation, users may encounter common issues such as connectivity problems or inconsistent performance, which can usually be addressed with simple troubleshooting techniques. By following these guidelines, you can effectively integrate smart LED downlights into your home, making your living space more intelligent and responsive to your lifestyle.
Jamaica Light