5 Tips to Reduce Stadium Light Pollution with Shields?

Time:2026-10-16 Author:Sophia
0%

Stadium lighting does more than illuminate athletes and spectators. It can brighten nearby homes, disturb wildlife, and create distracting skyglow. Poorly controlled beams may also reduce visual comfort around roads, entrances, and neighboring properties. For facility managers, reducing this impact requires more than choosing brighter fixtures. It requires careful planning, accurate aiming, and regular observation after installation.

This guide explores five practical ways to reduce stadium light pollution with shields. It asks, “How to reduce light pollution with shielded stadium lights?” The answer begins with selecting full-cutoff or asymmetric shields that keep light on the playing surface. Proper aiming matters just as much. A small tilt error can send light across rooftops or into bedroom windows. Dimming controls, scheduled shutdowns, and lower-output training modes can reduce unnecessary nighttime exposure. Photometric simulations should guide decisions, but on-site checks remain essential. Walk the surrounding streets after dark. Look for glare, spill, and reflections on wet pavement.

Reliable results come from combining manufacturer data, lighting expertise, and feedback from nearby communities. Industry recommendations can support the design, while local measurements reveal conditions that drawings may miss. No shield solves every problem. A shield can also create dark zones if installed carelessly. That limitation deserves attention. This introduction sets the direction for a practical, evidence-informed discussion. The goal is not simply to make a stadium darker. It is to provide clear, comfortable illumination while respecting neighbors, wildlife, and the night environment.
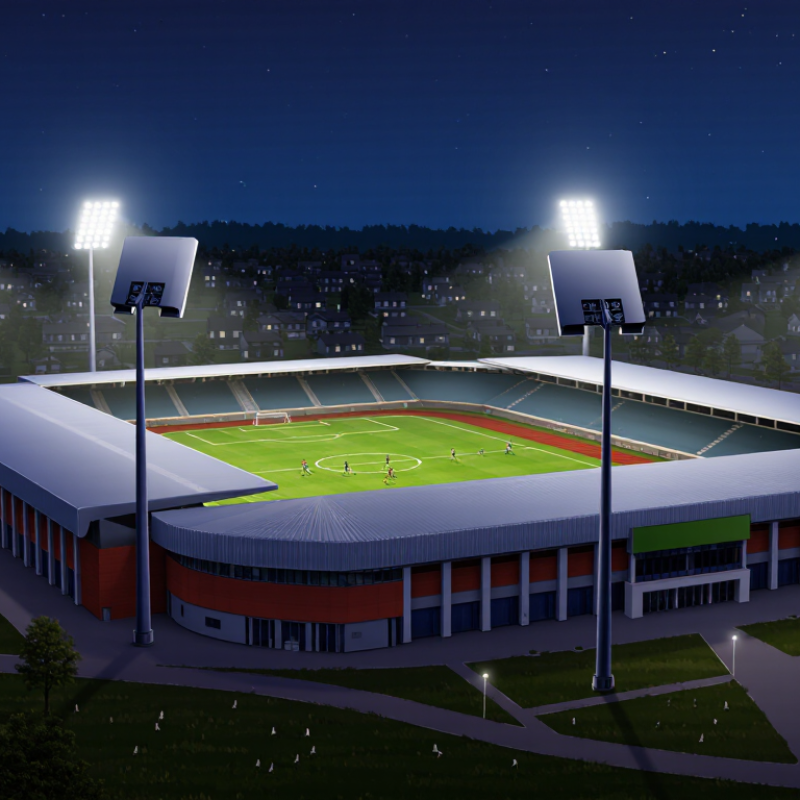
5 Tips to Reduce Stadium Light Pollution with Shields?

Baseline Light Spill with Boundary Lux and Sky-Glow Measurements

5 Tips to Reduce Stadium Light Pollution with Shields?

Baseline measurement should guide every shielding decision. Measure horizontal illuminance at the property boundary, not only beneath the floodlights. CIE 150:2017 lists typical pre-curfew limits from 2 lux in rural zones to 25 lux in bright urban zones. Local rules may differ. Record readings every 10 metres, including nearby homes, roads, and habitat edges. Use a calibrated meter, note weather, and test during full operation.

Tip 1: Take readings before changing fixtures. Tip 2: Repeat them after shielding. A single reading is not enough. Capture vertical lux at windows and entrances, because glare can remain uncomfortable below the legal limit. Then measure sky glow from an open area using a sky-quality meter or calibrated camera. The 2016 World Atlas of Artificial Night Sky Brightness reported that more than 80% of people live under light-polluted skies. That finding makes upward leakage a serious design concern.

Tip 3: Aim shields below the horizon. Tip 4: Check spill after maintenance, when tilt angles often drift. Tip 5: Compare readings at the same time and weather conditions. Cloud can reflect stadium light and exaggerate sky brightness. I have found boundary maps more useful than isolated numbers, though they require patience. Report the baseline, instrument model, calibration date, lux locations, sky brightness, and operating schedule. The International Commission on Illumination recommends documented assessment for obtrusive light control, but real sites remain imperfect. Noise, nearby lighting, and changing cloud cover can distort results.

Select Shields Rated IES BUG U0 for 0% Uplight

Stadium light pollution often starts above the playing surface. Select luminaires classified U0 under IES TM-15, rather than assuming a shield alone creates zero uplight. In the BUG system, U0 means no upward light output in the defined uplight zones. Confirm the complete luminaire rating after adding the shield. A poorly fitted shield can still leak light through gaps. IES TM-15-20 provides the technical framework for this classification.

Tip 1: Aim every fixture toward the field, not nearby windows.

Tip 2: Use full-cutoff shielding at the upper housing.

Tip 3: Check glare from streets, rooftops, and spectator areas.

Field measurements matter. The Illuminating Engineering Society recommends evaluating photometry, mounting height, aiming, and surrounding conditions together. A shield may reduce spill light, but excessive tilt can send bright beams beyond the venue.

Tip 4: Install programmable dimming for warm-up, breaks, and post-game periods.

Tip 5: Verify results with a calibrated illuminance meter and nighttime observations.

CIE 150:2017 identifies upward light, glare, and intrusive light as key elements of environmental assessment. DOE solid-state lighting reports also show that controls can reduce operating energy when output matches actual use. I would not trust a catalog rating alone. Weather, dust, maintenance, and nearby reflective surfaces can change performance. Record readings before and after shielding, then adjust the aiming plan.

Optimize Aiming to Preserve EN 12193 Uniformity Requirements

5 Tips to Reduce Stadium Light Pollution with Shields?

Optimize Aiming to Preserve EN 12193 Uniformity Requirements

Light shields can reduce spill toward homes, roads, and nearby habitats. However, shielding alone cannot solve poor aiming. Each luminaire should target the playing surface, not the spectators’ sightlines or the sky. Small tilt changes can create dark zones near touchlines. They can also reduce unwanted brightness beyond the stadium.

Use a calibrated photometric model before installation. Check beam angles, mounting heights, and aiming coordinates for every lighting position. Then compare the results with the EN 12193 uniformity requirements for the relevant sport and lighting class. Do not rely on average illuminance alone. Review the calculated minimum points and uniformity ratios across the required measurement grid. Five practical controls help: select suitable shields, limit upward tilt, refine horizontal aiming, reduce unnecessary output, and confirm results on site.

Measure after installation, especially from nearby properties and public paths. Look for bright windows, visible glare, and uneven areas on the field. A shield may need minor adjustment, but excessive masking can weaken corner illumination. The first aiming plan is rarely perfect. Weather, maintenance access, and camera positions can expose problems that simulations miss. Record each adjustment and repeat the grid measurements. Keep the final settings documented for future lamp replacement or seasonal changes. Good control is not simply darker surroundings. It is precise light, maintained uniformity, and less exposure where illumination is not needed.

5 Tips to Reduce Stadium Light Pollution with Shields

Optimize Aiming to Preserve EN 12193 Uniformity Requirements

This standards-based planning example compares shield and aiming options. Upward light spill decreases as shielding improves, while uniformity remains close to the design level until excessive shielding reduces coverage. U0 is calculated as minimum illuminance divided by average illuminance; the applicable EN 12193 requirement depends on the sport, competition level, and lighting class.

Automate Dimming and Curfews Through DALI or DMX Controls

Stadium light pollution often begins with a simple mistake: fixtures stay at full output after the last spectator leaves. The International Energy Agency’s Energy Efficiency 2023 report estimates that lighting uses about 15% of global electricity. A stadium cannot solve that global figure alone, but its operating schedule matters.

DALI or DMX controls can create practical lighting scenes for training, matches, cleaning, and emergency movement. Set a lower output after play, then schedule a firm curfew for nonessential zones. Motion sensors can restore light near service gates without illuminating empty stands. Use DALI for addressable dimming and feedback. Use DMX where rapid scene changes and theatrical control are important. Integrate both carefully; poor commissioning can create flicker, delays, or conflicting commands.

Shielded optics should block direct views of LED sources from nearby homes and roads. Aim beams below the horizon, then verify them from street level. CIE 150:2017 recommends environmental-zone limits for upward light and intrusive illumination, giving designers measurable targets. Record lux readings before installation and after each control scene. The U.S. Department of Energy’s solid-state lighting reports also identify controls as a major route to better lighting efficiency.

Do not trust the first schedule. A midnight curfew may still disturb late maintenance. Review complaints, energy logs, and skyglow observations monthly. Some controls will fail in real weather. Leave a manual override, but require a reason and an automatic timeout.

Verify Compliance with CIE 150:2017 Obtrusive-Light Limits

5 Tips to Reduce Stadium Light Pollution with Shields

Tip 1: Start with CIE 150:2017

Shielding should support compliance, not replace it. CIE 150:2017 provides guidance for controlling obtrusive light near sports facilities. Identify the site’s environmental zone, from relatively dark areas to bright urban districts. Then check applicable limits for spill light, glare, and sky glow. Local planning rules may be stricter, so treat the CIE guidance as a technical benchmark.

Tip 2: Measure the real boundary

A photometric model is useful, but field measurements reveal practical problems. Inspect nearby homes, roads, parks, and upper-floor windows after dark. Record vertical illuminance at property boundaries during the brightest game setting. Compare readings with the relevant CIE threshold. Repeat measurements after aiming changes. Small errors matter.

Tip 3: Shield before reducing output

Install precise visors around floodlights, especially where beams cross residential sightlines. Use narrow aiming angles and avoid light above the intended playing surface. Check glare from different viewing positions, not only from the control room. A shield can reduce spill, but poor installation may create dark patches on the field. That compromise deserves review.

Tip 4: Test operating conditions

Verify limits during broadcasts, warm-up periods, and emergency lighting scenes. Dimming schedules should reflect actual use, including late-night departures. Keep dated drawings, meter readings, aiming records, and maintenance notes. Reliable documentation supports future inspections and exposes design assumptions that may have been wrong. Revisiting the site matters.

FAQS

What does a U0 rating mean for stadium floodlights?

It indicates no upward light output in defined uplight zones. Check the complete luminaire rating after shielding. A small gap can still leak light.

Can a shield alone guarantee zero uplight?

No. A poorly fitted visor may leave gaps. Excessive tilt can project bright beams beyond the venue. Inspect the upper housing carefully.

How should stadium fixtures be aimed?

Aim every fixture toward the playing surface, not nearby windows. Avoid direct beams toward streets, rooftops, and spectator areas. Recheck aiming after installation.

Which locations should be measured for intrusive light?

Check homes, roads, parks, property boundaries, and upper-floor windows after dark. Record vertical illuminance during the brightest game setting. Small errors matter.

When should lighting levels be tested?

Test broadcasts, warm-ups, breaks, games, late departures, and emergency lighting scenes. Conditions change. Dimming schedules should reflect real use, not assumptions.

How can programmable dimming reduce light pollution?

Use lower output during warm-ups, breaks, and post-game periods. Match lighting to actual field activity. Energy savings may disappoint when schedules are poorly set.

How should results be compared with environmental limits?

Identify the site’s environmental zone and review spill light, glare, and sky glow. Local rules may be stricter. Treat technical guidance as a benchmark, not permission.

What records support future lighting inspections?

Keep dated drawings, calibrated meter readings, aiming records, and maintenance notes. Record conditions before and after shielding. Dust, weather, and reflective surfaces can change performance.

Can shielding create new problems on the playing surface?

Yes. Poor installation may reduce spill light but create dark patches on the field. Check several viewing positions, not only the control room. That compromise deserves review.

Conclusion

How to reduce light pollution with shielded stadium lights? Start by establishing a reliable baseline. Measure illuminance at the site boundary and assess sky glow from nearby observation points before making changes. These results help identify where spill light is excessive and provide a clear way to evaluate improvements. Choose properly designed shields with an IES BUG rating of U0, which indicates zero intended uplight, and position them to block light from escaping beyond the playing area.

Shielding should be combined with accurate aiming so the field remains evenly illuminated and continues to meet EN 12193 uniformity requirements. Smart controls can further reduce unwanted lighting by using DALI or DMX systems to schedule dimming, event-based output, and automatic curfews. Finally, repeat boundary and sky-glow measurements to verify performance against the obtrusive-light limits described in CIE 150:2017. This integrated approach reduces glare and environmental impact while preserving safe, consistent visibility for players and spectators.

Sophia

Sophia

Sophia is a dedicated marketing professional with an exceptional depth of knowledge about her company's products and services. With a keen understanding of market trends and customer needs, she crafts insightful blog posts that not only inform but also engage readers, enriching the company’s online......